As an Amazon Associate, Oxymeter earns from qualifying purchases.
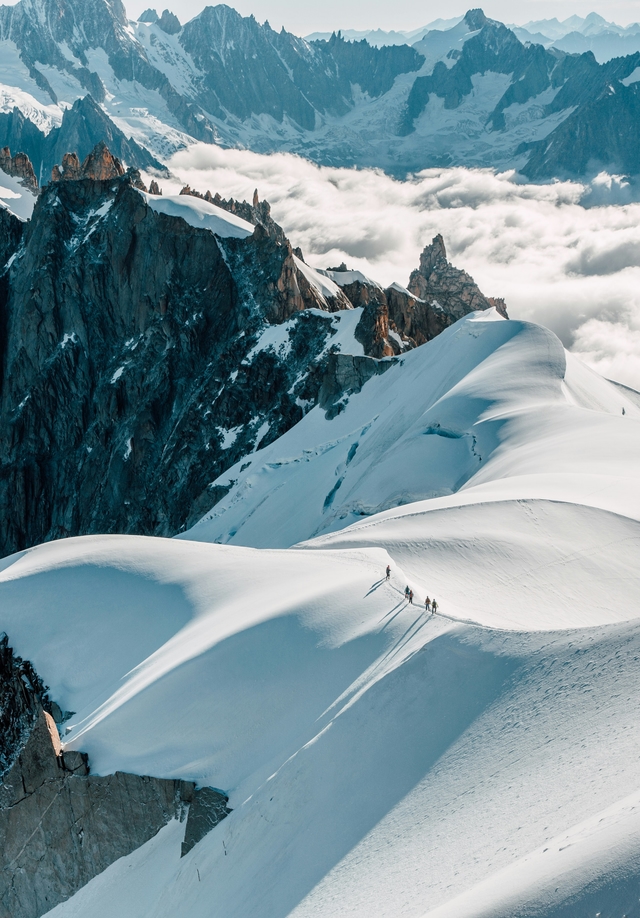
There's a moment on every first glacier route where the guide stops, points at your feet, and says: put them on now. You dig the crampons out of your pack, and if you bought the wrong pair, you find out here — at 3,200 metres, with cold fingers, wondering why the heel clip won't seat on your soft-soled boots.
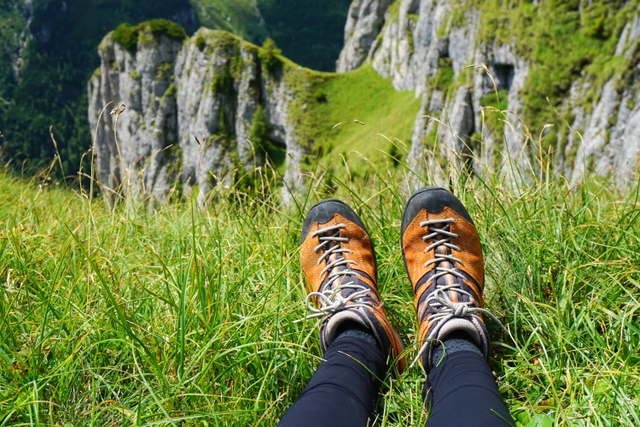
Crampons are the one piece of gear people buy last and research least. That's backwards. The wrong crampons don't just underperform — they can pop off mid-slope. And the choice isn't really about the crampons at all. It's about your boots.
Get that relationship right and the rest is detail. Get it wrong and no amount of money fixes it.
The one rule that matters: match the crampon to your boot
Boots and crampons are graded on two parallel scales, and they have to line up. Miss this and nothing else counts.
Boots run from B0 (flexible hiking boots, no crampon rating) up to B3 (fully rigid, the stiffest mountaineering boots). Crampons run from C1 (flexible, strap-on) to C3 (rigid, technical). The rule is simple: your crampon number must be equal to or lower than your boot number.
| Boot rating | Stiffness | Compatible crampons | Typical use |
|---|---|---|---|
| B0 | Flexible hiking boot | None | Trails, no crampons |
| B1 | Stiffened trekking boot | C1 | Easy glaciers, via ferrata |
| B2 | 3-season mountaineering boot | C1, C2 | Classic alpinism, 4,000m peaks |
| B3 | Fully rigid boot | C1, C2, C3 | Steep ice, mixed, winter |
A stiff crampon on a bending boot is the dangerous combination. The boot flexes as you walk, the rigid crampon can't follow, and the tension eventually levers the binding loose. It's the single most common gear mismatch in the mountains — and it's completely avoidable. Check your boot rating first. Everything downstream depends on it.
Binding types: strap-on, hybrid, step-in
The binding is how the crampon attaches, and it's dictated by that boot rating above.
Strap-on (C1). A flexible harness of straps wraps the whole boot. Fits almost anything, including softer B1 boots without welts. The trade-off: slower to fit, especially with cold hands or thick gloves, and a touch less precise on steep ground. For glacier walking and general alpinism, they're plenty.
Hybrid (C2). A heel clip locks onto a rear welt, while the toe stays held by a strap or plastic cradle. You get most of the speed and security of a full step-in with a bit more boot compatibility. For most people climbing classic 4,000-metre routes, this is the sweet spot.
Step-in / automatic (C3). A wire toe bail and a heel lever clip into welts at both ends. Fastest to fit, most secure, best for technical ice — but only on fully rigid B3 boots with front and rear welts. Put these on the wrong boot and they simply won't stay on.
Here's the thing most shops won't say out loud: for a first pair, a C2 hybrid on a B2 boot covers 90% of what an amateur mountaineer will ever climb. Don't over-buy for routes you're not doing yet.
Points and front-points: what the numbers mean
Most alpine crampons have 12 points — ten underfoot for grip on flats and slopes, and two front-points that stick forward for kicking into firm snow and ice.
The underfoot points do the quiet work: they bite on the glacier, on the traverse, on the descent nobody thinks about until they slip on it. The front-points are what you use to climb steep ground, driving them into the ice one kick at a time.
Front-point shape matters more than the count:
- Horizontal front-points are wider and more stable on snow and moderate ice. They're the standard for classic mountaineering and what you want for a first pair.
- Vertical front-points are narrower and penetrate hard water ice better. They're for steep ice and mixed climbing — a specialist tool, not a generalist one.
Ten-point crampons exist and are lighter, but dropping the two secondary front-points costs you security on steeper snow. Unless you're specifically doing low-angle glacier travel and counting grams, 12 points is the default answer. That's why "12-point crampons" and "classic mountaineering crampons" are essentially the same search.
Steel or aluminium
Steel is the default for real mountaineering. It holds an edge on ice, tolerates the occasional scrape across rock, and lasts for years. The penalty is weight — a steel pair runs roughly 800–1,000 grams.
Aluminium cuts that weight in half. That sounds great until you meet rock: aluminium points blunt fast and skate on anything harder than snow. They belong on ski-touring kits and glacier approaches where you're on snow the whole way and every gram counts.
One pair for everything? Buy steel. The weight you save with aluminium isn't worth the durability you lose the first time you cross a rocky rib.
Anti-balling plates and getting the size right
Two details that quietly decide whether your crampons work.
Anti-balling plates (anti-bott) are flexible plates under the crampon that shed snow instead of letting it pack into a slick ball beneath your foot. On wet spring snow, a balled-up crampon is genuinely dangerous — you're effectively walking on a snowball with spikes buried inside it. Any crampon you buy for alpine use should have them. Most good ones do.
Sizing isn't optional either. Crampons adjust to boot length via a centre bar, but you have to set them at home, on the actual boots you'll wear, before the trip. A crampon that's a size off rocks on the boot and can detach under load. Fit them, walk around the living room, adjust, repeat. Not at the hut at 4 a.m.
Recommended crampons by use
For classic alpinism and 4,000-metre glacier routes — Mont Blanc, Gran Paradiso, the Monte Rosa peaks — a 12-point steel crampon with horizontal front-points and a hybrid or strap-on binding is the tool. The Petzl Vasak is the long-standing reference in this category: 12 points, steel, horizontal front-points, integrated anti-balling plates, and available in strap-on (FlexLock) or hybrid (LeverLock) bindings to match B1 through B3 boots. It's the crampon most guides hand a client for a first glacier season, and it does everything a general mountaineer needs.
For steep water ice and mixed, you'd move to vertical front-points and a rigid C3 model on B3 boots — but that's a second, specialised pair, bought once you know you need it.
For ski touring, aluminium saves real weight on the up, where you're on snow anyway.
Buy for the routes you're actually climbing this season, not the ones you're dreaming about. You can always add the specialist pair later.
How to monitor your SpO₂ at altitude
Crampons get you up the glacier. Your body still has to cope with the altitude at the top of it — and above roughly 3,000 metres, that's where things get quietly serious. On a 4,000-metre peak the air holds around 60% of the oxygen you'd breathe at sea level, and your blood oxygen saturation drops with it.
A pulse oximeter is the cheapest way to see that happening in real time. It reads your SpO₂ in seconds, and a falling number is often the first warning of altitude sickness — hours before you feel the headache. Check what oxygen level you'll actually face on summit day with the Oxymeter calculator: enter your target altitude and read the O₂ percentage and AMS risk. Then, on the mountain, pair it with a device you trust — see our tested picks in the guide to the best pulse oximeters for hiking. Planning your first big glacier objective? The Mont Blanc preparation guide walks through the fitness and acclimatization side.
Frequently Asked Questions
How do I choose crampons?
Start with your boots, not the crampons. Check your boot's stiffness rating (B0 to B3) and pick a matching binding: flexible strap-on for softer boots, step-in for fully rigid B3 boots. Then match the crampon to the terrain — 12-point steel for glaciers and general alpinism, lighter models for glacier walking, aggressive front-points for steep ice.
What are 12-point crampons used for?
Twelve-point crampons are the standard for classic mountaineering: glacier travel, snow slopes, and moderate ice up to around 4,000 metres. Ten of the points sit under the foot for grip on flat and angled terrain, and the two front-points let you kick into firm snow and ice. They're the most versatile choice for anyone climbing peaks like Mont Blanc or Gran Paradiso.
What is the difference between strap-on and step-in crampons?
Strap-on crampons wrap the whole boot with flexible bindings and fit almost any footwear, including flexible boots. Step-in crampons use a heel clip and toe bail that lock into welts on stiff, rigid boots — faster to put on with gloves, but only compatible with B2 or B3 boots. Hybrid bindings sit between the two: a heel clip with a toe strap.
Do I need anti-balling plates?
Yes, for anything involving wet snow. Anti-balling plates (also called anti-bott) stop snow from clumping under the crampon, which turns your points into useless snowballs and is a real slip hazard on a slope. Most quality alpine crampons include them; if yours don't, buy them separately. On pure hard ice they matter less, but on a spring glacier they're essential.
Are aluminium or steel crampons better?
It depends on the route. Steel holds an edge on ice and rock and survives abuse, so it's the default for real mountaineering. Aluminium is roughly half the weight but wears fast and skates on rock, so it's reserved for ski touring and glacier approaches where you're mostly on snow. If you own one pair, make it steel.
What boots are compatible with crampons?
Boots are rated B0 to B3 by stiffness and crampons C1 to C3 by binding type. The rule: your crampon rating must be equal to or lower than your boot rating. B1 boots take C1 (flexible strap-on) crampons, B2 boots take C1 or C2, and fully rigid B3 boots take any crampon including C3 technical models. Never put a rigid step-in crampon on a soft boot.
Crampon and boot compatibility standards vary slightly by manufacturer. Always check the specific fit of your crampons on your own boots before a route, and verify current conditions with the local alpine club or hut before you set out.